What is DTF transfer? A cool tattoo, but for clothes—that’s what we’re looking at here.
With custom DTF transfers, your design gets printed onto a special film. Then, that film gets heat-pressed onto your fabric, like a t-shirt, tote bag, or even shoes.
What does DTF mean? It’s an acronym for direct to film.
Direct to film transfers custom show off your artwork in bright, eye-catching colors and work on almost any fabric—from a cotton tee to a polyester hoodie and everything in between.
Moreover, these transfers can hold up to washing and wear, so you can rep your design for a while.
So, if you’re someone who wants to make yourself a one-of-a-kind t-shirt or personalize a gift, or if you’re a small business looking to create custom merchandise for your brand or designs to sell—this blog is for you.
There are different programs you can use to create your Direct to film transfer ready to press design. For example, you can use Inkscape. It’s a free and easy-to-learn program that’s great for making basic designs. It’s a good option if you’re new to design software or on a budget.
Moreover, you can also use Adobe Photoshop, a powerful program with many features, but it costs money. If you’re already familiar with Photoshop and want more advanced editing tools, this might be the better choice for you.
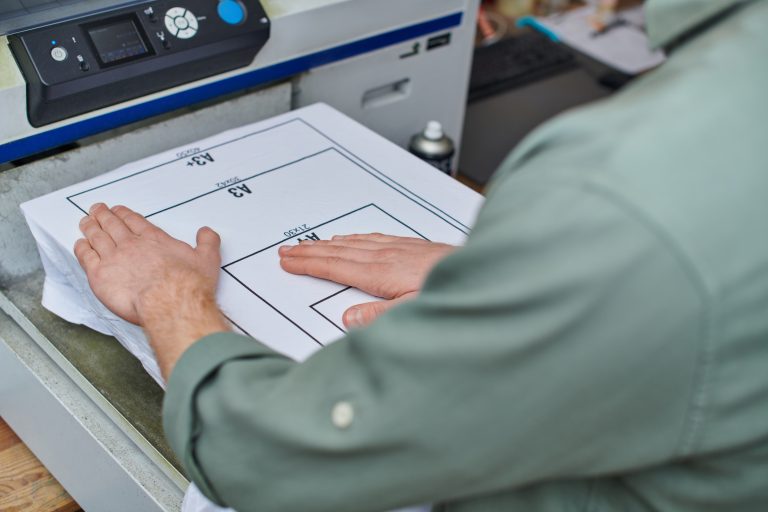
Once the design is done, you’ll go for printing. There are a few things to keep in mind when designing your transfer to ensure a good-quality print.
First of all, the image you use for your design needs to be high-resolution. This means it has a lot of detail and won’t look blurry when printed. Aim for an image with at least 300 dpi (dots per inch).
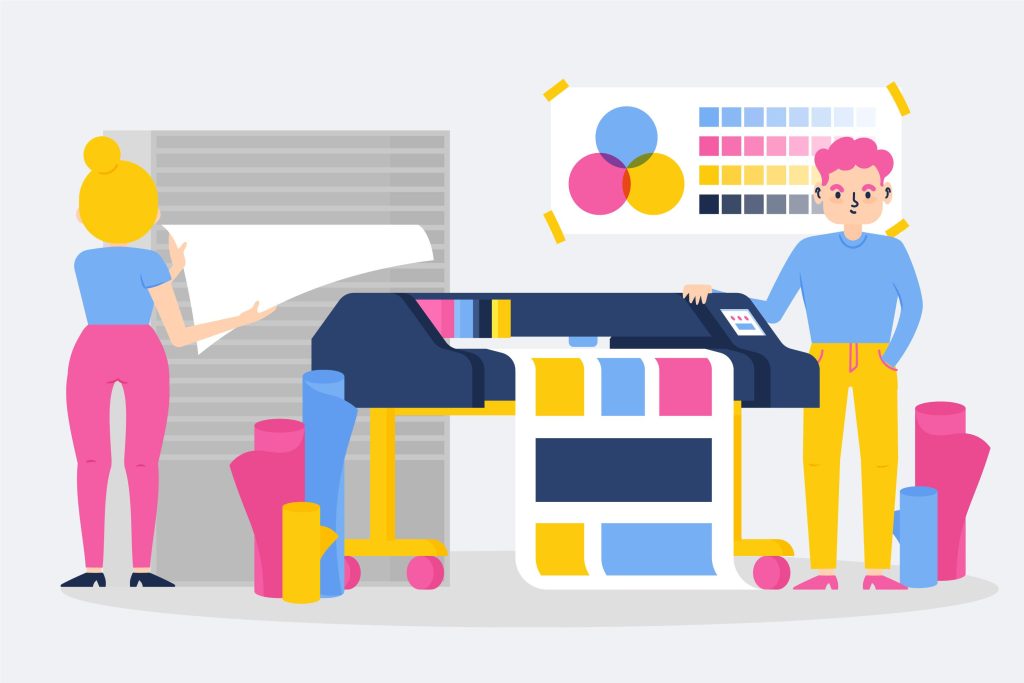
Secondly, most printers use a color mode called CMYK (Cyan, Magenta, Yellow, and Black). Make sure your design is also in CMYK mode. This will help ensure the colors print accurately.
Once your design is finished, save it in a format that works well for DTF printing. Some good options are PNG, PSD, or CDR.
But sometimes, you can feel stuck on what to create—in terms of design.
Well, there are many websites and online marketplaces that offer free or paid DTF designs. You can search for designs that match your interests or style.
Moreover, you can search within and around you. Maybe you have a funny saying, a cool drawing, or a favorite band logo. You can use these ideas to create your own unique transfer.
Also, custom DTF transfers ready to press work best with clear, bold designs. If you include too much detail, it might be difficult to see after printing. So, focus on creating a simple and eye-catching design.
If you don’t have a Direct to film transfer printer at home, no worries. You can order custom DTF transfers from a printing service.
The first step is looking for companies that specialize in Direct to film printing. Read online reviews and compare prices to find a good fit. One reputable option is Moretranz.
Next, you tell them what you need. When you order your transfers, you’ll need to specify a few things:
Lastly, you’ll need to upload your design. Most printing services will have a website where you can upload your design file. Make sure your file is saved in a format they accept, such as PNG, PSD, or CDR (check the website for details).
Once you’ve provided this information and uploaded your design, the printing service will handle the rest. They’ll print your design onto the special DTF film and send it to you, ready to use.
Now that you have your custom DTF transfer sheets, it’s time to put it on your shirt or other fabric.
The first step is to gather your supplies:
Next, you must get your garment ready: Make sure your shirt or fabric is clean and wrinkle-free. Dirt or wrinkles can affect how well the transfer sticks. Iron out any wrinkles if needed.
Time to press. First, set the heat press settings.
These settings can vary slightly depending on your heat press and transfer material. It’s always best to follow the specific instructions provided by your transfer provider.
However, here’s a general guideline:
Once you have heat press settings in order, go for printing. Here’s what you’ll need to do:
The last step is weeding the excess film.
Let the transfer cool completely before peeling off the clear film around your design. This is important to ensure the transfer adheres properly.
Once cool, gently peel away the clear film. The design should stick to your garment.
Use your weeding tool to remove any tiny pieces of film that might be stuck around the edges of your design.
Here are some tips to help you keep your transfer vibrant.
To make your transfer last a long time, follow these washing tips:
You should dry your garment to keep the colors fresh and durable. Here’s how:
What about ironing? Let’s understand whether there’s room for ironing, or would it ruin the colors:
By following these care instructions, you can help your transfer stay vibrant and look great for a long time.
Direct to film transfers offer a fantastic way to personalize clothing and accessories.
They come in bright, eye-catching colors, work on various fabrics, and can withstand washing and wear.
Whether you’re creating a one-of-a-kind t-shirt for yourself or custom merchandise for your business, Direct to film custom transfers are a versatile and fun option.
MoreTranz® is a company of Morche Designs
Open: M – F
Hours: 9am – 5pm EST